

| Attention Before you read this post, I highly recommend you check out my resources page for access to the tools and services I use to not only maintain my system but also fix all my computer errors, by clicking here! |
Error 0x00000709 is a printer related issue that occurs when the end user attempts to change the OS default printer. There are two variations of this error, with the first resembling the following: “Operation could not be completed (error 0x00000709)”. The second, occurs over a shared network, where a printer that was previously erased, shows up again. The error will appear, when the user tries to print from the previously erased printer.
Despite the rapid advancements in computer technology over the past couple of decades, printers still remain one of the more widely and importantly used devices. They are used both in the workspace and at home. When you setup a printer, it’s customary for you to set it as your default. As the default, all print jobs will be automatically assigned to that printer, instead of the user having to manually select it themselves – a process that can be quite repetitive and annoying.
Ultimately, it’s a very frustrating issue, considering how important the printer, and one’s ability to use it, is. Fortunately, it is possible for you to fix the error 0x00000709 operation could not be completed.
However, before we get to the how, let’s take a deep dive into its common causes.
What Causes Error 0x00000709 Operation Could not be completed?
When an end user attempts to set an installed printer as default, they may be greeted with the error code 0x00000709.
But why does it occur? The most common reasons are outlined below:
- A conflict exists within the Windows registry: The registry may have a different printer set as the default.
- The end user lacks the required permissions: If you do not have administrative privileges, it may be impossible to change certain printer settings.
- A Windows Update: It’s possible your printer settings were altered by a change to the OS – brought about, by the update.
- The printer’s drivers are corrupted: Either they’re corrupted or outdated, either way, you’ll need to replace/update them.
So, what can you do to rectify this error? A number of things, fortunately. Continue reading, for those much desired solutions.
How to Fix It
Now that we have the why and the what, let’s go over a number of methods you can deploy today, to fix the printer error 0x000000709.
As always, I like to start small. So the first thing you should look at, is printer interferences. The “Operation could not be completed” error message most commonly occurs when there are multiple printers connected to the same computer. Thus, to avoid any sort of conflict, consider disabling the printer(s) you do not need, then try setting the one you do, as default.
If that fails to fix the error, then I suggest you try the many solutions outlined below:
Update Printer Drivers
Error 0x000000709 could quite possibly be the result of an outdated or corrupted printer driver. Thus, as a viable solution, you may want to consider updating those drivers.
To do that, I’d suggest you downloaded the appropriate drivers from the website of the device manufacturer. Then run it, and follow the onscreen instructions.
Alternatively, if you are unable to find the drivers or would simply like to try a simpler solution. Then you could run a driver automation tool like DriverFinder. This tool when run, will scan, detect, then download and install drivers for ALL the devices attached to your system.
It’s very easy to use and doubles as an overall driver maintenance tool.
If that interests you, then I suggest you visit the link below:
CLICK HERE TO CHECK OUT DRIVERFINDER
 The solution(s) below are for ADVANCED level computer users. If you are a beginner to intermediate computer user, I highly recommend you use the automated tool(s) above! The solution(s) below are for ADVANCED level computer users. If you are a beginner to intermediate computer user, I highly recommend you use the automated tool(s) above! |
Run As Admin
Another common reason for error 0x000000709 is a lack of administrative privileges. The end user is prohibited from altering the OS default printer, because they do not have the rights to do it.
Fortunately, this is an easy fix, just do the following:
1. First, log into your system as a full administrator.
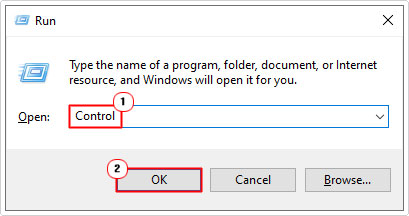
2. Then, press  + R, type Control and click on OK.
3. Next, click on View devices and printers, under Hardware and Sound.

4. Now, double-click on your Printer.

5. This will bring up the Pinter Spooler, from here, click on Printer -> Set as Default Printer.

6. Now, close the spooler and reboot your system.
Change Default via Registry
If the above method still prevents you from altering your default printer, fret not, as there are other methods available to you.
This next method involves using the Windows Registry to essentially, complete the same task.
WARNING: The Windows Registry is a very sensitive area of the OS, and thus, can render your system inoperable if wrongly modified. So tread with caution.
If you feel comfortable using the Windows registry, then you can carry out this task, by doing the following:
1. First, boot into your system as a full administrator.
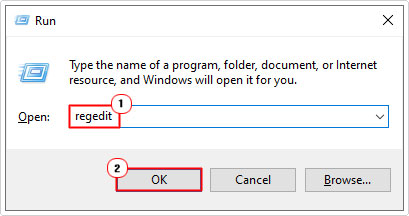
2. Next, press + R, type regedit and click on OK.
3. When Registry Editor loads up, navigate to the following path:
Computer\HKEY_CURRENT_USER\Software\Microsoft\Windows NT\CurrentVersion\Windows

4. Now, on the right pane, double-click on Device.

5. This will open up the Edit String dialog box, from here, type the following into Value data box and click on OK:
PRINTER,winspool,Ne02:
Note: Replace PRINTER with the full name of your actual printer. The last two commands may differ, and so, should be left as is.

If you don’t know the full name of your printer, then you can acquire it by doing the following:
1. First, follow steps 1 – 3 of Run as Admin.
2. Under Printers you will find the full name of your printer.

Note: Make sure you type the full name in the Edit String Value Data box.
Once you’ve finished, you should restart your computer, then verify whether or not it has worked.
Run Printer Troubleshooter
Another method you can use to fix the error 0x00000709 operation could not be completed is to use the built-in troubleshooter. The one specifically designed to fix printer-related issues.
To do this, simply follow the steps below:
1. First, boot into your system as an admin.
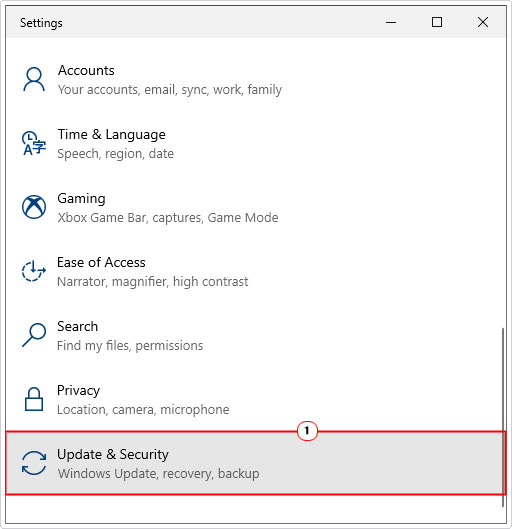
2. Then press + I, and click on Update & Security.
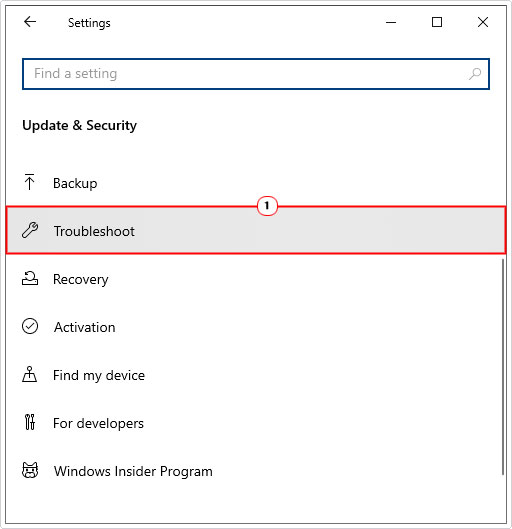
3. Now, on the following screen, click on Troubleshoot.
4. This will bring up the Troubleshoot screen, scroll down and click on Additional troubleshooters.
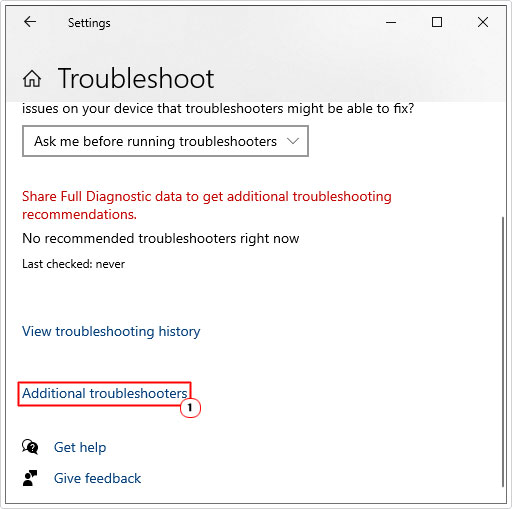
5. Lastly, click on Printer and follow the onscreen instructions.

Clear Print Job(s)
If the error 0x00000709 is occurring over a shared network setup, then you should be able to rectify the problem by clearing your print job folder. To do this, you will need to access and erase the contents of the printer folder. You can do that by following the steps below:
1. First, boot into your system as a full administrator.
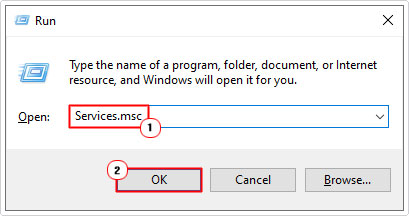
2. Then press + R, type Services.msc and click on OK.
3. When Services loads up, locate and double-click on Printer Spooler.

4. This will bring up the Printer Spooler Properties applet. Now, click on Stop, then click on OK.

5. Next, press + R, type C:\Windows\System32\spool\PRINTERS and click on OK.

6. This will bring up the PRINTERS folder. Now, click on Select All -> Delete.

7. Once the contents of the PRINTERS folder have been erased. Do step 4 again, only this time, click on Start.
Are you looking for a way to repair all the errors on your computer?

If the answer is Yes, then I highly recommend you check out Advanced System Repair Pro.
Which is the leading registry cleaner program online that is able to cure your system from a number of different ailments such as Windows Installer Errors, Runtime Errors, Malicious Software, Spyware, System Freezing, Active Malware, Blue Screen of Death Errors, Rundll Errors, Slow Erratic Computer Performance, ActiveX Errors and much more. Click here to check it out NOW!