

| Attention Before you read this post, I highly recommend you check out my resources page for access to the tools and services I use to not only maintain my system but also fix all my computer errors, by clicking here! |
It’s not uncommon for end users to use the System File Checker (SFC) tool when faced with an issue, such as a runtime error, BSOD error or appcrash. However, there are times when, even the tool (SFC) designed to fix the problem can run into problems itself. One of the most commonly encountered error message in SFC is “Windows Resource Protection Could Not Perform the Requested Operation”. So, why does it happen, and what can you do to fix it? Continue reading, and you’ll find out.
WRP or Windows Resource Protection is a built-in security feature that is designed to safeguard ones system from unauthorised services and applications altering integral system files (and components). These components may include specific hidden folders, system boot files, registry keys and more.
The WRP is tasked with maintaining a cache of known working Windows files. It’s these files that are called upon and used to replace any corrupted or damaged files in your system.
System File Checker (SFC) exists as a component of Windows Resource Protection, which, when run, will analyse and compare the operating system files with its cached copies. If a corrupted, altered or erased file is detected, then it is immediately replaced, using the cache.
The WRP is integral to SFC, as the later relies on it to provide good working copies of Windows files. Thus, without this feature (WRP), SFC cannot work correctly. In short, both of these components work in unison to ensure the integrity and stability of your operating system.
“Windows Resource Protection Could Not Perform the Requested Operation” as an error message, may appear for a variety of reasons. So, let’s get to it.
What Causes “Windows Resource Protection Could Not Perform the Requested Operation” Errors?
The error message is fairly cryptic and doesn’t explicitly state why the error is occurring. That said, there are a number of things one must consider. The most common of which are outlined below:
- The hard disc drive is faulty, possibly the result of bad sectors.
- The end user lacks the appropriate (admin) privileges to run System File Checker.
- Your Windows operating system has been corrupted.
These causes listed above, tend to pop up the most, when users are battling the “Windows Resource Protection Could Not Perform the Requested Operation” error. However, these are not the sole reasons, so it helps to keep an open mind.
Now, with that out of the way, let’s take a look at the various ways you can fix this problem.
How to Fix It
When it comes to fixing the “Windows Resource Protection Could Not Perform the Requested Operation” error, there are numerous methods you can deploy. Some of them may include workarounds, allowing you to use the tool without actually fixing the underlying problem. While others, do just that.
So, continue reading, for those much desired solutions.
Run Windows Repair Tool to Fix “Windows Resource Protection Could Not Perform the Requested Operation” Errors
One of the sure-fire ways of fixing a great many issues on your system is through the use of a Windows repair tool.
The specific tool I have in mind is called Advanced System Repair Pro and it is, as the name states. An advanced repair tool, capable of fixing a wide variety of computer issues, from app errors, to registry corruption, DLL errors, virus infections, BSOD errors and much more.
This tool functions as an all-in-one security and maintenance suite, ensuring your system is error free and performance optimised.
If any of that sounds interesting to you, then visit the link below:
CLICK HERE TO CHECK OUT ADVANCED SYSTEM REPAIR PRO
Run Virus Scan
There are millions of malicious files out there, capable of causing a great deal of harm to your systems. Some can even hijack them, allowing the hacker to make nasty alterations to key areas of the operating system. In this particular instance, it’s possible a virus could be the main culprit for the “Windows Resource Protection Could Not Perform the Requested Operation” error.
As a result, you should definitely consider running a full scan of your system using whatever internet security tool you have. Alternatively, if you do not have a security tool or are just on the lookout for something better, then you should consider SpyHunter.
SpyHunter is amongst the very best antimalware tools in the marketplace.
To learn more about how this tool can help you, visit the link below:
CLICK HERE TO CHECK OUT SPYHUNTER
 The solution(s) below are for ADVANCED level computer users. If you are a beginner to intermediate computer user, I highly recommend you use the automated tool(s) above! The solution(s) below are for ADVANCED level computer users. If you are a beginner to intermediate computer user, I highly recommend you use the automated tool(s) above! |
Use Chkdsk
One of the listed possible causes of “Windows Resource Protection Could Not Perform the Requested Operation” is a faulty hard drive, possibly the result of bad sectors.
If you’re hard drive has bad sectors, then you can fix it by simply running the Chkdsk command. To do that, follow the steps below:
1. First, ensure you’ve booted into your system as a full admin.
2. Next, press  + R, type cmd and press CTRL + Shift + Enter.
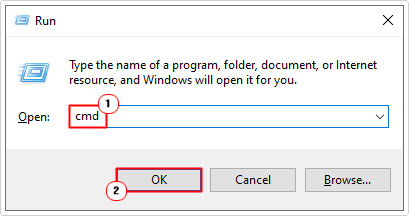
3. This will bring up Command Prompt, from here, type the command below and press Enter.
Chkdsk X: /r
Note: Replace X with the letter of your hard drive.
Chkdsk will run a thorough scan of your hard drive when you next restart. Depending on the size of your drive, this can take anywhere from minutes to hours to complete.
Run (Automatic) Startup Repair
If the “Windows Resource Protection Could Not Perform the Requested Operation” error continues to rear its ugly head (even after attempting the many solutions outlined above), then you may want to try the Automatic Repair feature. Automatic Repair is a built-in feature designed to fix issues related to the Windows boot up.
Depending on the root cause of the Windows Resource Protection error, this may or may not be effective.
To utilise this method, simply follow the steps below:
1. First, boot into your system as an admin.
2. Then press + I, then click on Update & Security.
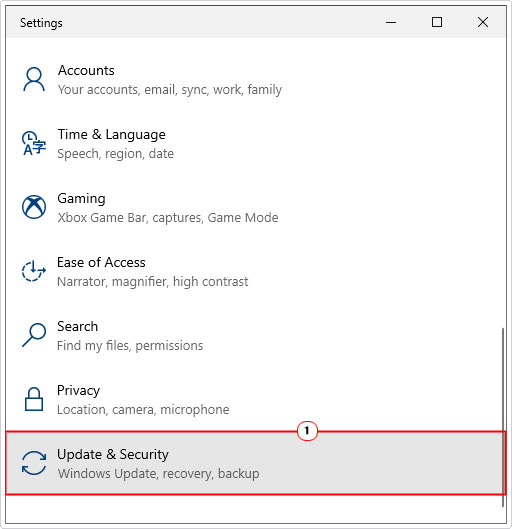
3. When Update & Security loads up, click on Recovery.

4. This will take you to the Recovery menu, from here, click on Restart now, under Advanced start-up.

Note: This will boot the system into the Windows (RE) Recovery Environment.
5. Once Windows RE loads up, follow the steps outlined in my post on fixing the “hard drive not installed” problem.
Run SFC in Safe Mode
Safe Mode is a minimalist environment, where only the bare essentials are loaded. Typically, users will opt to run a tool (or Service) in Safe Mode when it’s theorised that it may be conflicting with another app or service.
Accessing Safe Mode can be done in a number of ways, but the quickest way is outlined below:
1. First, boot into your system as a full administrator.
2. Next, press + R, type msconfig and click on OK.
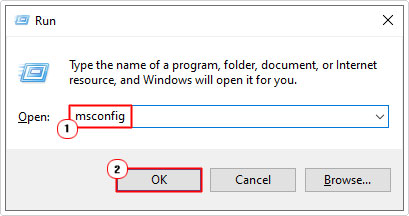
3. This will bring up the System Configuration applet. From here, click on the Boot Tab, then click on Safe Mode. Lastly, click on OK and Restart the computer.

Note: Make sure the Safe Mode option is set to Minimal.
4. Once Safe Mode loads up, you can run SFC.
Enable Windows Modules Installer
In order for SFC to work, there are a series of services that must be enabled. Once of such services is called Windows Modules Installer, which is integral to the WRP feature.
Ordinarily, SFC should enable this feature automatically, during the scan, however, in this instance, that may not be happening.
Thus, to be sure, you can check the service by doing the following:
1. Boot into your system as an admin.
2. Next, press + R, type Services.msc and click on OK.
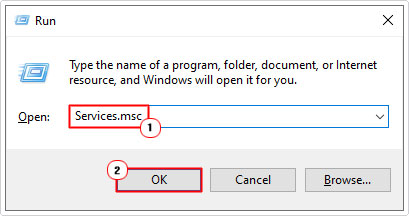
3. When Services loads up, locate and double-click on Windows Modules Installer.

4. This will bring up the Windows Modules Installer Properties applet, from here, make sure Startup type is set to Manual then click on OK.

Now you can try SFC to see whether or not this has fixed the problem.
Reset Windows to Fix “Windows Resource Protection Could Not Perform the Requested Operation” Errors
If the “Windows Resource Protection Could Not Perform the Requested Operation” error continues to persist, even after attempting all the solutions above, then you may want to take more drastic measures. That is, to conduct a full Windows reset.
Depending on the choice you make, a reset may result in the total erasure of all stored data. So this should only be attempted as a last resort.
When it comes to a Windows reset, there are several ways you can carry this out. My post on how to fix Windows Activation error code 0xc004f211, covers the most common method.
Are you looking for a way to repair all the errors on your computer?

If the answer is Yes, then I highly recommend you check out Advanced System Repair Pro.
Which is the leading registry cleaner program online that is able to cure your system from a number of different ailments such as Windows Installer Errors, Runtime Errors, Malicious Software, Spyware, System Freezing, Active Malware, Blue Screen of Death Errors, Rundll Errors, Slow Erratic Computer Performance, ActiveX Errors and much more. Click here to check it out NOW!